My idea of a perfect night is gathering with some friends on the back porch in the summer, listening to some music, talking, playing games, and enjoying ice cold beers or other beverages as we watch the sunset.
A must have for any gathering such as this is a cooler or ice chest for keeping all of the drinks cold.
Most people have one of those standard plastic coolers that you can buy fairly inexpensively at the supermarket — and why not? They’re convenient and durable.
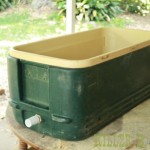
But when you want to take the time and care to make your backyard, porch, or patio a personalized space, those hunks of plastic might seem…unsightly.
Brooke Norsworthy runs a blog called Killer B. Design where she creates different DIY, crafting, and home improvement projects and teaches readers how to do the same.
One project includes how to turn a plain, old ice chest into a gorgeous piece of rustic furniture. She was gracious enough to give us permission to share some of the photos so that you might become inspired to do something similar.
See how she does it in the photos below, and please SHARE if you love how household things can be transformed into stunning creations!
She had seen beautiful, rustic coolers at stores like Cabela’s, but they all retailed for over $100. She decided to put her old cooler to use rather than spend that money.
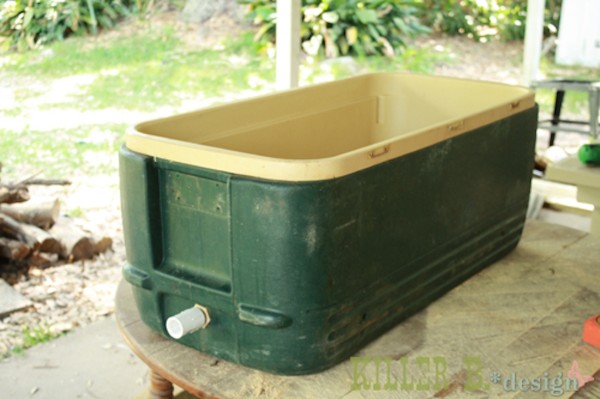
Luckily, she didn’t have to spend that much. She was able to spend only $30 on scrap wood, screws, nails, and pipe coupling — plus a spigot, handles, and a bottle opener.

They measured the frame around the cooler, then made the legs 30 inches tall so it was counter height.
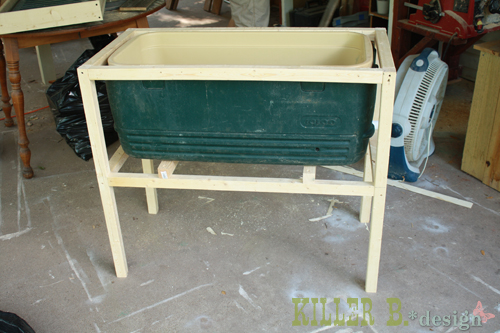
The frame should fit the cooler snugly. Visit Brooke’s blog for more detailed information on their own measurements.
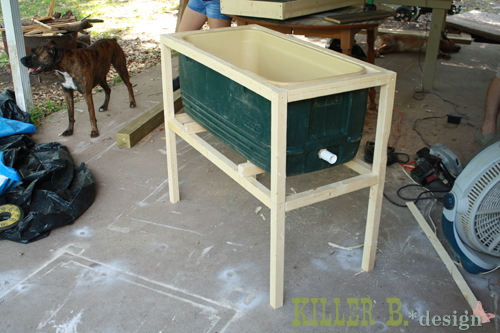
Once the frame was in place, she cut the siding and attached it with nails.
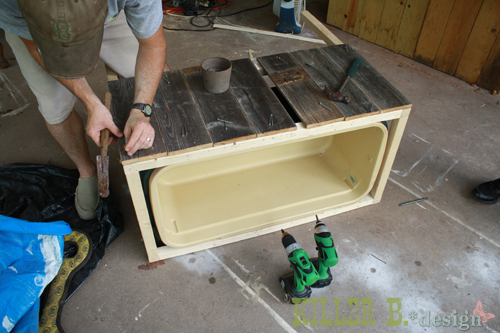
They let the siding overhang the frame to hide the 2x2s.
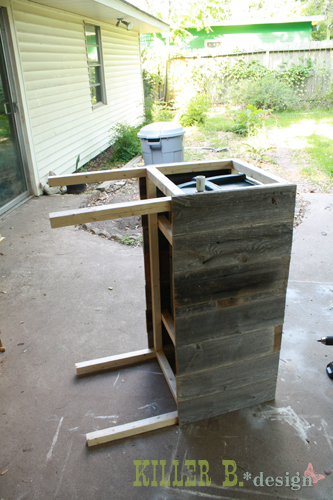
For the side slats, they started with the center board and ensured that there was a hole for the spigot.
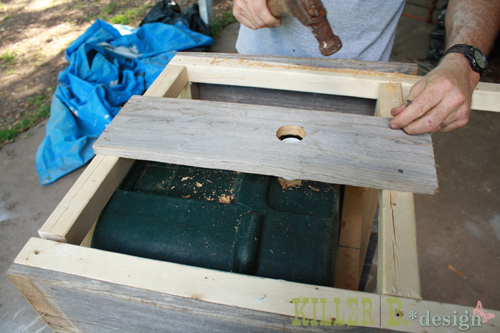
They also added a trim. Attention to detail on projects like this can really make a huge difference.
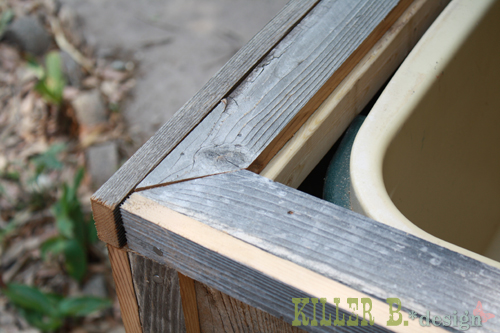
Next, they took the lid of the cooler and built its own frame with trimming. The cooler lid also fits snugly within its frame.
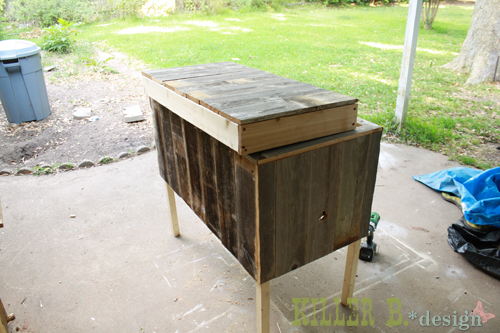
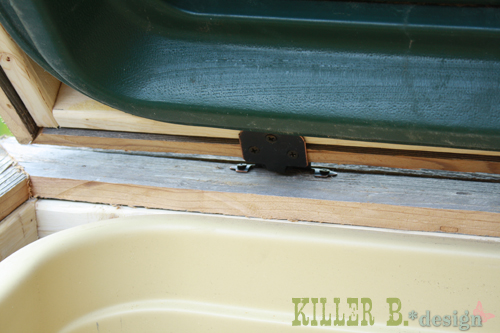
Hinges allow the new wooden lid to lift in the same way as the plastic one.
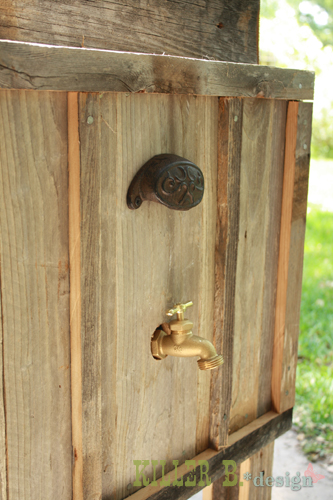
They also added a bottle opener and attached a spigot for more cute details.
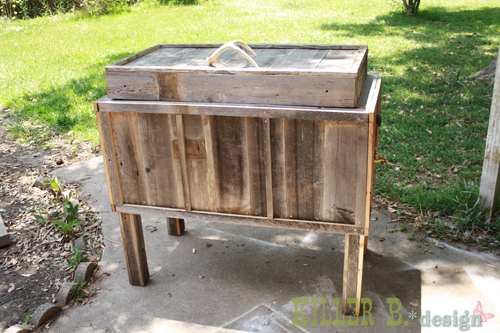
And here’s the finished product!
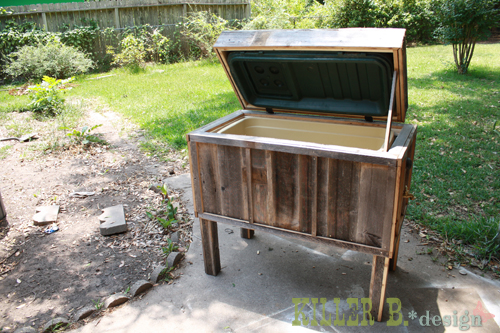
Only $30 and a couple hours of work created a truly unique, beautiful addition to the backyard that will definitely get guests talking at the next party.
Please SHARE if you love DIY projects like this!



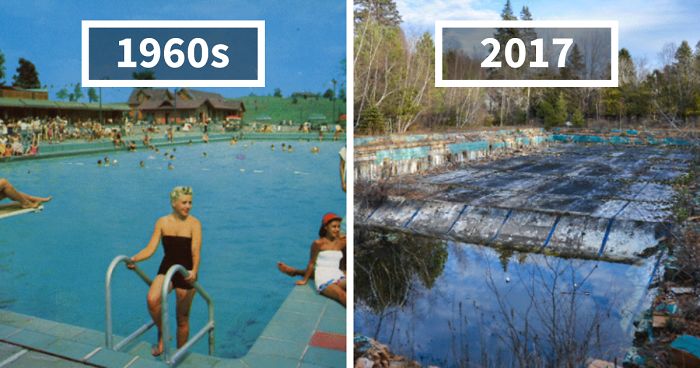 Photographer Finds Locations Of 1960s Postcards To See How They Look Today, And The Difference Is Unbelievable
  Hij zet 3 IKEA kastjes tegen elkaar aan en maakt dit voor zijn vrouw…Wat een gaaf resultaat!!
 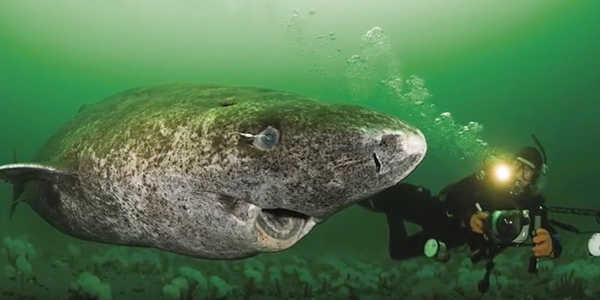 Scientists Discover 512-Year-Old Shark, Which Would Be The Oldest Living Vertebrate On The Planet
 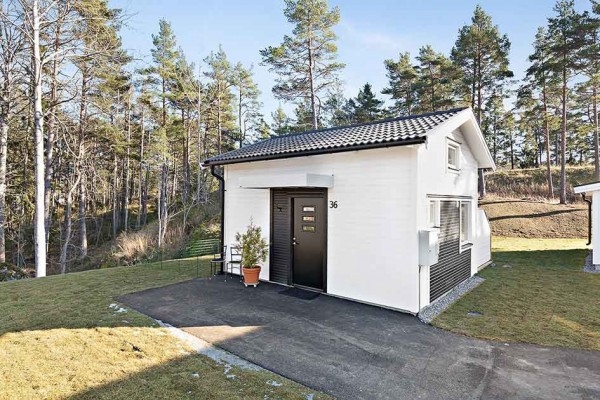 Hus til salg er kun 22 kvadratmeter – men vent til du ser det indvendigt
  Superknepet – så blir snuskiga ugnsformen som ny igen!
 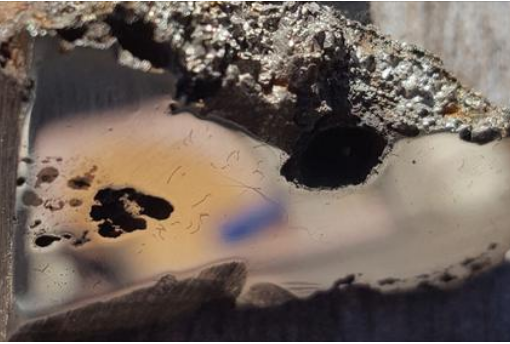 Meteorite That Recently Fell in Somalia Turns Out to Contain Two Minerals Never Before Seen on Earth
  Nearly Frozen Waves Captured On Camera By Nantucket Photographer
  It’s Official: Astronomers Have Discovered another Earth