Whether it’s an ugly pattern or cheap material, bad carpeting can completely destroy home decor.
The Instructables user below suffered from that problem, until she decided to construct a brand new floor with her bare hands and some inexpensive wood.
“Our pantry floor was a disaster. Or, the tiny scary purposeless room we turned into a pantry had this horrible cheap carpet in it,” wrote user Humboldtartdept. “Stopping by a pallet recycler for another project, I discovered these cut block pieces. Slowly over time I amassed enough for the whole floor.”
We’ve shown you the various creative projects that can be made with pallets — who could forget the pallet bar? This one below is another for the books.
The pallet wood helped transform an unattractive room into a rustic paradise. There’s really no need to hire home remodeling specialists or construction workers when you can do this yourself. And the best part is, it wasn’t even that expensive!
“It took some effort, it took some time, but in the end, we’re super thrilled with it,” she wrote. “We’re really enjoying this floor and it’s perfect for our pantry. In the end, this project cost less than $100 for an approximately 100 sq. ft. room with all the wood being free.”
As the innovative Instructables.com user Humboldtartdept said, the family’s pantry floor was a “disaster.” Over time, she collected enough pallet pieces and decided to construct a brand new floor.
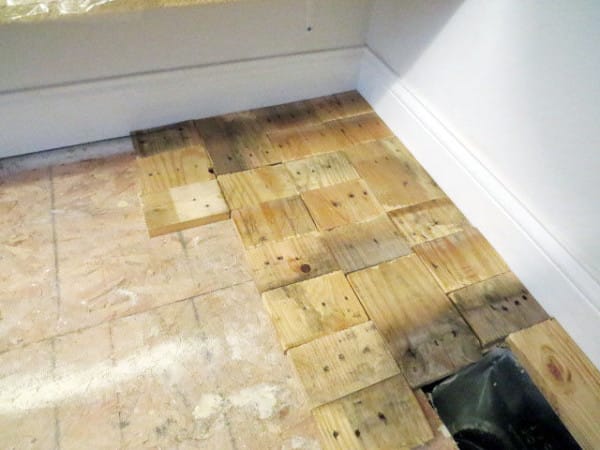
First, it was important to place foam underlayment to add insulation. “I’m 95% sure there is nothing but air under this floor,” she wrote.
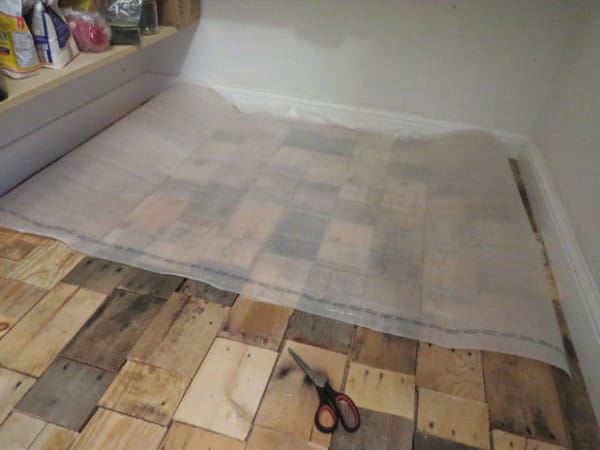
Then, it was time to start placing the blocks over the foam. She used a compressor and nail gun to secure the pieces.
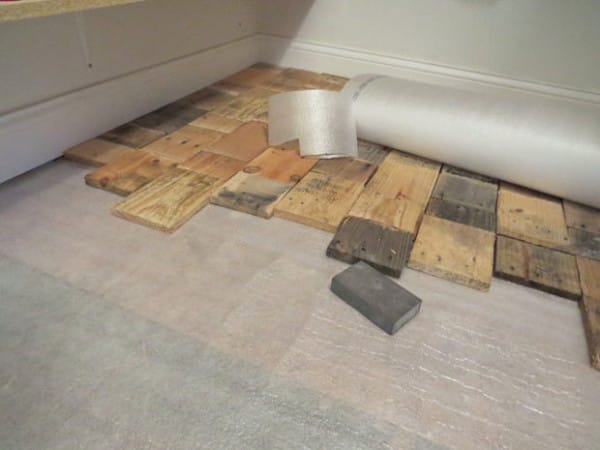
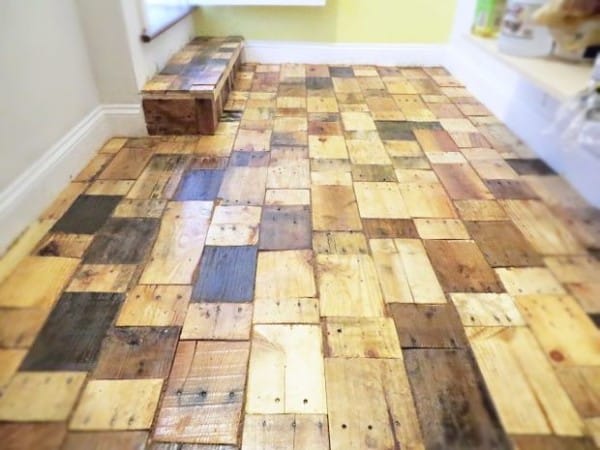
And to cover the step in the room, some smaller pieces were used.
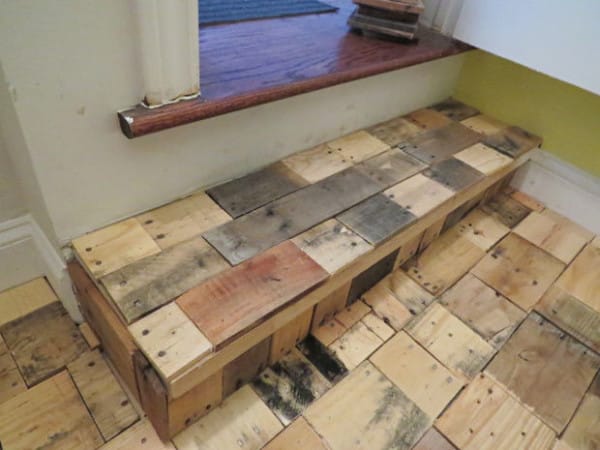
It was also necessary to grout and fill in all the voids on the floor. “I mixed up a creation of fine saw dust, gloss oil based polyurethane, and mineral spirits to thin. I won’t lie, it was challenge getting it between the joints,” she wrote.
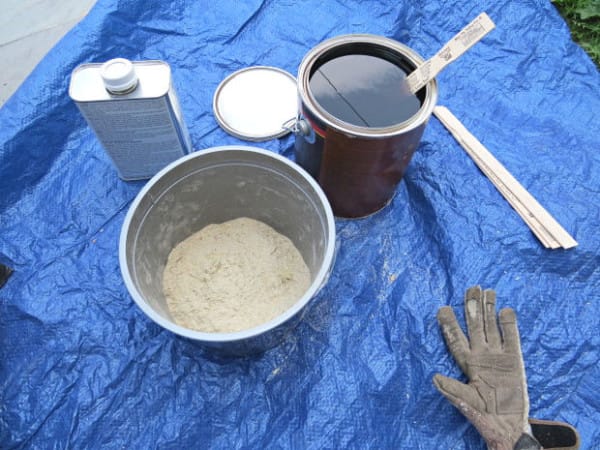
“The last step was two coats of the same oil based gloss polyurethane. I’ll add a few more but at the time, it was all I had time for,” she added.
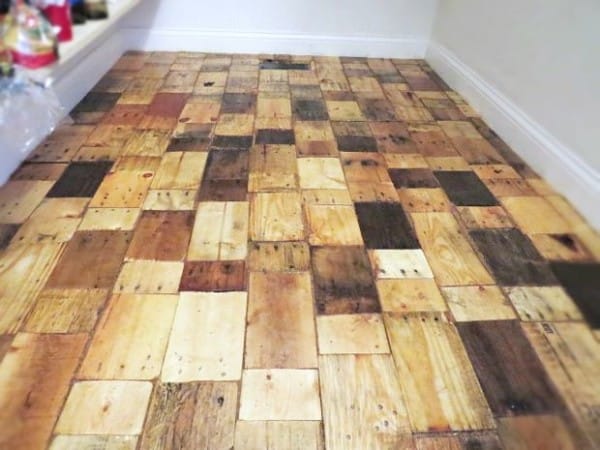
Finally the rustic floor was finished. Would you love this floor in your home? Let us know in the comments below.
Please SHARE if you loved this floor makeover!



 Photographer Finds Locations Of 1960s Postcards To See How They Look Today, And The Difference Is Unbelievable
  Hij zet 3 IKEA kastjes tegen elkaar aan en maakt dit voor zijn vrouw…Wat een gaaf resultaat!!
  Scientists Discover 512-Year-Old Shark, Which Would Be The Oldest Living Vertebrate On The Planet
  Hus til salg er kun 22 kvadratmeter – men vent til du ser det indvendigt
  Superknepet – så blir snuskiga ugnsformen som ny igen!
  Meteorite That Recently Fell in Somalia Turns Out to Contain Two Minerals Never Before Seen on Earth
  Nearly Frozen Waves Captured On Camera By Nantucket Photographer
  It’s Official: Astronomers Have Discovered another Earth