I absolutely love string lights. They’re a simple, romantic way to change up the ambiance in just about any space. Several years back, a Finnish artist named Johanna Hyrkäs took the idea of string lights, combined it with a carpet, and created the Light Carpet by crocheting around the outside of a light-up rope. This DIY project adds a warm touch of light to your home 365 days a year. You can use it as a calming night light, or simply place it on the floor as a gorgeous piece of homemade home décor.
Inspired by the Light Carpet, Carmen from the popular crochet blog Crafty Queens decided to make one for herself. So, she picked up a cord of LED lights and a few skeins of textile yarn, and began the somewhat complicated crocheting process of forming a coil. Carmen says that first and foremost, make sure the lights are LED. Since they don’t heat up, LED lights are safe and energy-saving.
Scroll down to see the fabulous result. It’s so beautiful that I genuinely want one for my own apartment, and I’m not the only one; this awesome DIY is going viral…
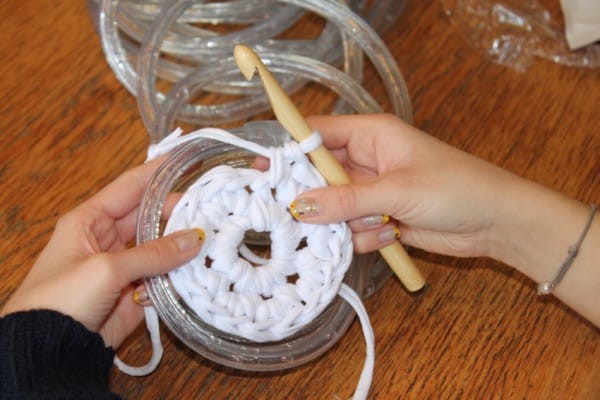
“I’m not a total crochet noob, but I had some difficulty figuring this out,” Crafty Queen writes on her blog. “Soon enough though, I got it right! I’m sharing this tutorial with all of you, to spare you some trial-and-error of your own.
Important: When looking for the lights, make sure that they are LED-lights. As far as I know, these don’t heat up, so there’s less chance of fire hazard. They are safer and energy-saving!”
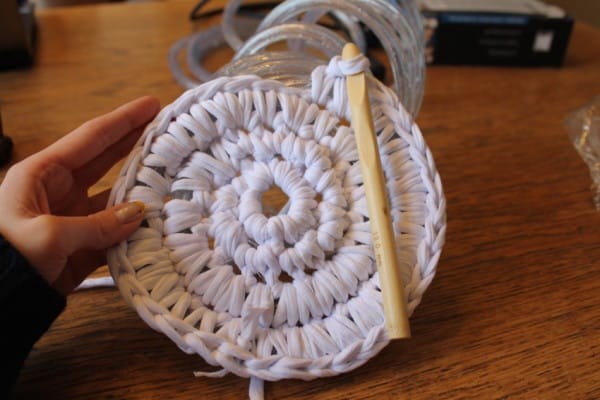
“I understood that I would have to crochet in the round a few times, until it would fit the inside of the lights.. um.. cord? Anyway, because the cord is very stiff, it would not curl up small enough to work it into the crocheting from the beginning. I crocheted 8 SC in a magic circle, and then 2 SC in every SC, before I could start working with the cord.
The lights cord I used was 6 meters long.”
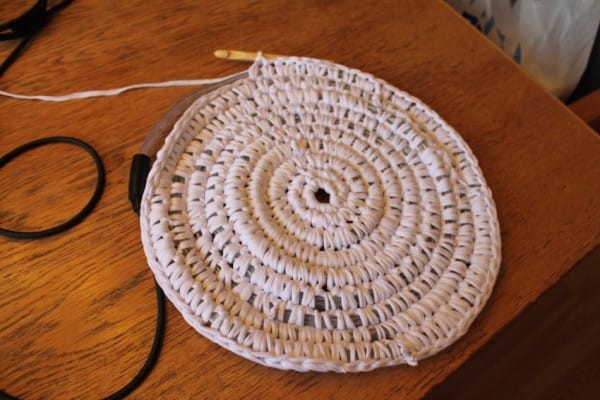
“It’s kind of tricky, but you’ll get the hang of it. For the first few rounds, keep crocheting with *1sc, 2sc*. Crochet very loosely! After the 3rd round, I noticed that if you just crochet loose enough, you don’t have to increase that much. When you do need to, just chain 1 in between stitches. ( I did this every 6 stitches) I found that doing 2SC covers the lights too much. It would still shine through, but I thought it was nicer to leave larger gaps. If you need to increase in the last round, however, use 2SC instead of chains, as it makes for a nicer edge.
When you’ve come to the end of the cord, crochet some SC without the cord in it, like in this picture.”
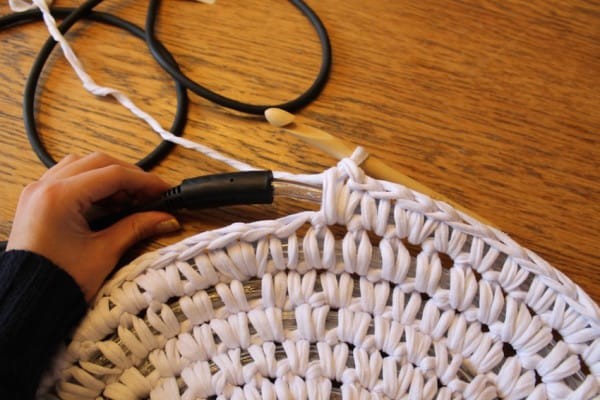
“Then, crochet 2 slip stitches (1 per stitch), to make a nice circle.”
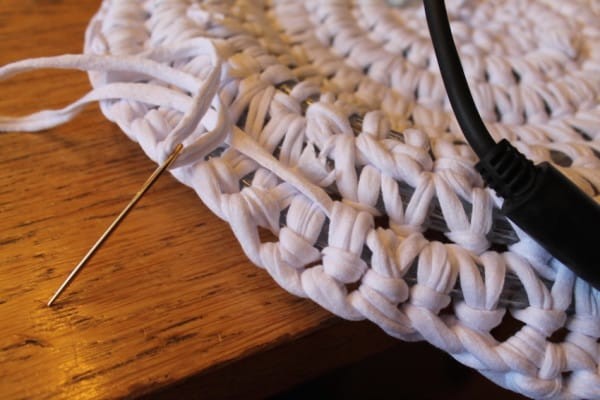
“Weave in the ends. You’ll need an extra large needle for this. If you don’t have one, maybe a crochet hook will do the trick too.”
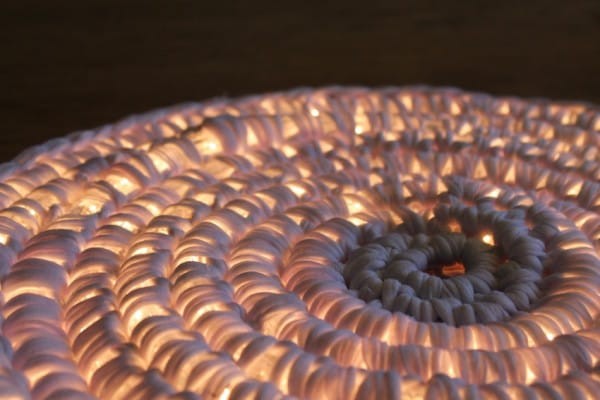
Tada! When the lights turn off, there’s a sweet surprise.
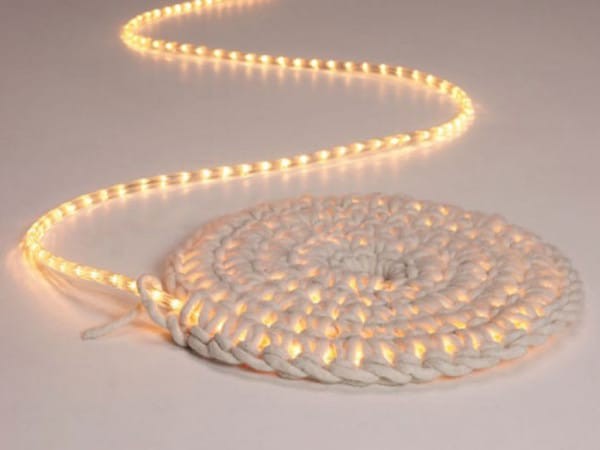
This Light-Up Rug is the perfect way to add ambiance to an otherwise dark and dreary space.
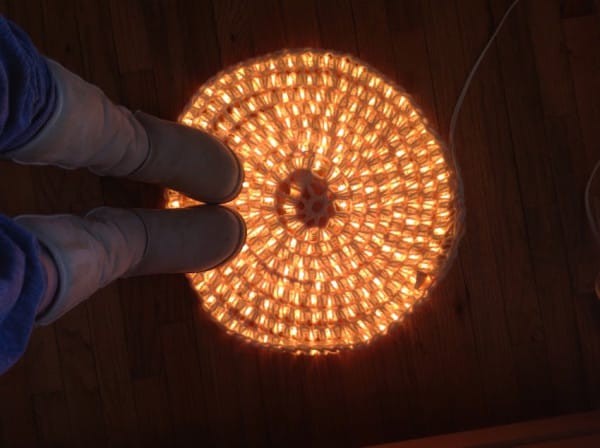
Not only does it provide a warm decorative touch, but the lights feel warm underneath your feet.
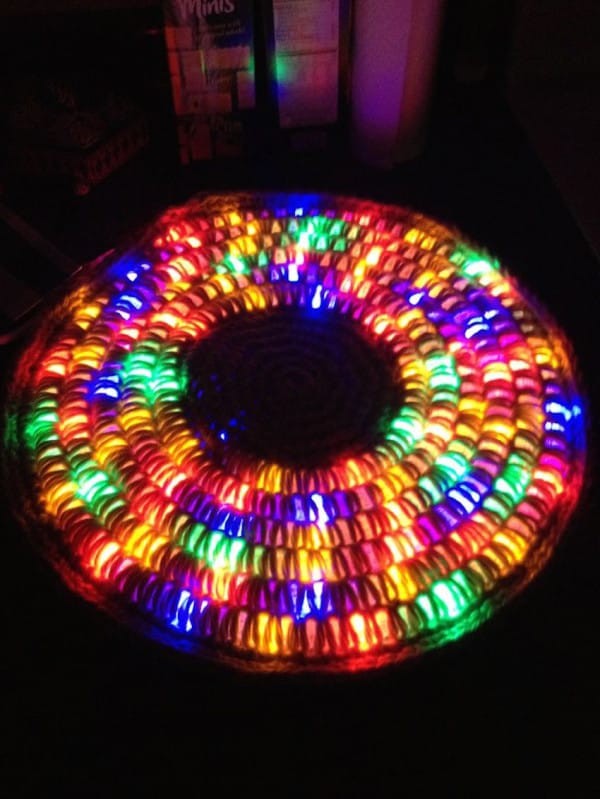
You can make your own using any color of yarn and LED light(s).
I can’t wait to make one for myself. Please SHARE this creative DIY project with your friends on Facebook!





 Photographer Finds Locations Of 1960s Postcards To See How They Look Today, And The Difference Is Unbelievable
  Hij zet 3 IKEA kastjes tegen elkaar aan en maakt dit voor zijn vrouw…Wat een gaaf resultaat!!
  Scientists Discover 512-Year-Old Shark, Which Would Be The Oldest Living Vertebrate On The Planet
  Hus til salg er kun 22 kvadratmeter – men vent til du ser det indvendigt
  Superknepet – så blir snuskiga ugnsformen som ny igen!
 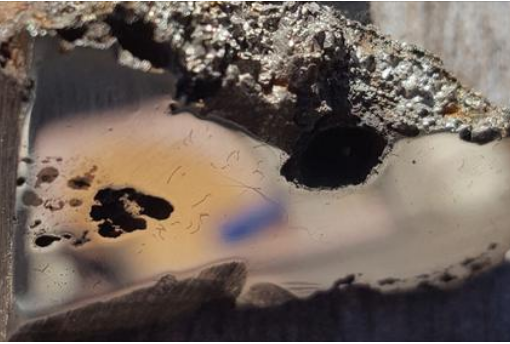 Meteorite That Recently Fell in Somalia Turns Out to Contain Two Minerals Never Before Seen on Earth
  Nearly Frozen Waves Captured On Camera By Nantucket Photographer
  It’s Official: Astronomers Have Discovered another Earth